
LumSites provides advanced features to manage, if needed, users' permissions. We get data from Google Users Directory, if available. You can create groups in order to provide them with access to specific parts of the site and to address dedicated content. Here are few steps you can follow for an efficient strategy on LumSites profiling.
Step 1 - Update your directory
LumApps products are built on top of Google Apps for Work. With LumSites, you take your collaboration platform to the next stage. If your Google Users Directory fields are properly informed, LumSites will tap the data directly into it. You will access to powerful settings to organize LumSites groups by picking Google Groups or defining specific groups based on Google Users Accounts data.
Step 2 - Define your organization
In your LumApps platform, you can create many instances. All the Google accounts of your platform are synchronized with LumSites, then, for each instance, you can select users or groups that will have access to. In this step, your focus must be on the different instances you create, the rights of each user (viewer, editor, instance administrator, super administrator) for all or part of a site.
Step 3 - Create categories
According to relevant criteria in your context, LumSites can automatically create categories based on Google Accounts data. For example, you define categories by country, location, department or whatever field available in your Google directory. Thereby, categories can be deeply distinguished from your Google groups and access permissions fit automatically with Google accounts.

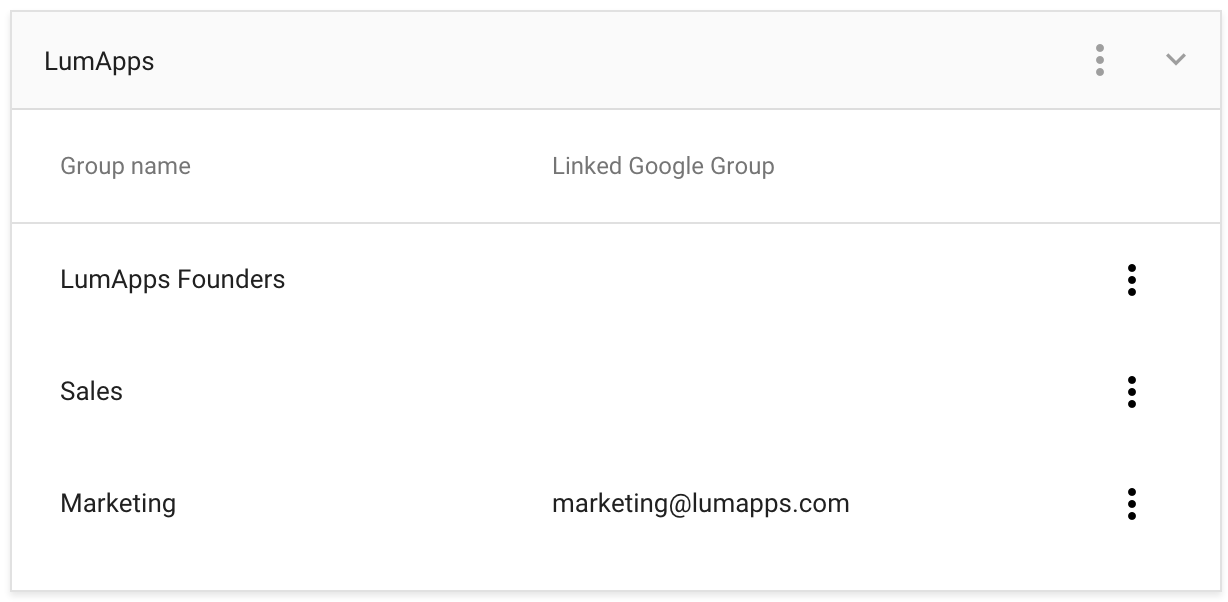
Step 4 - Refine groups
Inside a LumSites category, you can specify groups by adding google groups or a list of users that have access to your platform.
If you want to give access to external users that are not from your domain, the super administrator can add them in your platform and then instance administrators could be able to select them in instance groups.
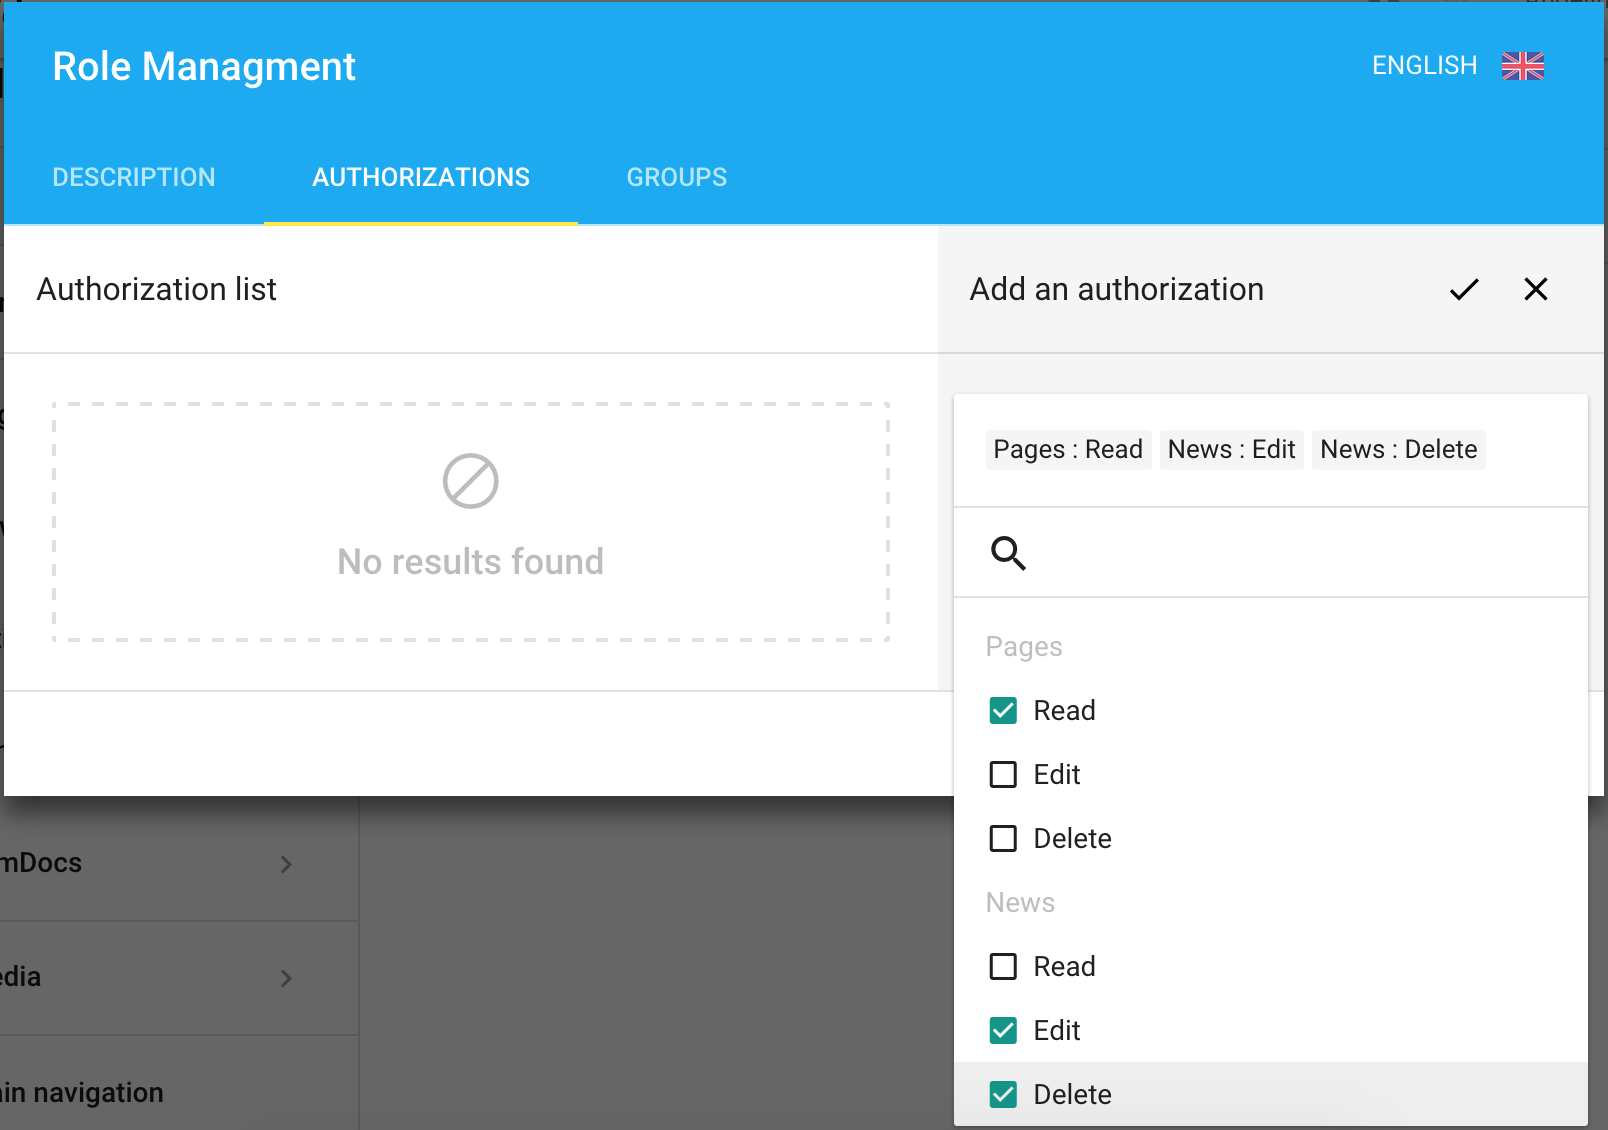
Step 5 - Manage roles
Now that you have determined which permissions apply to each group, you can manage roles. First, select instance administrators who will be able to manage the instance. Then, you can specify roles: for each type of content (pages, news, customized types of content) you can select an access level setting (Read, Edit, Delete) for one group. The permissions that apply to this group of users determine what tasks they can perform.
Step 6 - Edit and publish
Now that you have assigned access permissions, identified users can edit and publish content for the parts of the site they are authorized to contribute.
For each article, editors pick out the visibility (public, all users, specific groups) so that you can address dedicated content to your audience (in the episode 3, we will tell you more about content customization).
Thanks to this permission philosophy, LumSites provides you one unique platform fed by several contributors that publish differentiated content to fit the expectations of your audience.
Video tutorial on profiling
Have a look at our video tutorial on LumSites Users Management.

Please stay tuned next week for the Episode 2 of this series on Responsive Design in LumSites.
Get LumSites! Free 30-day trial